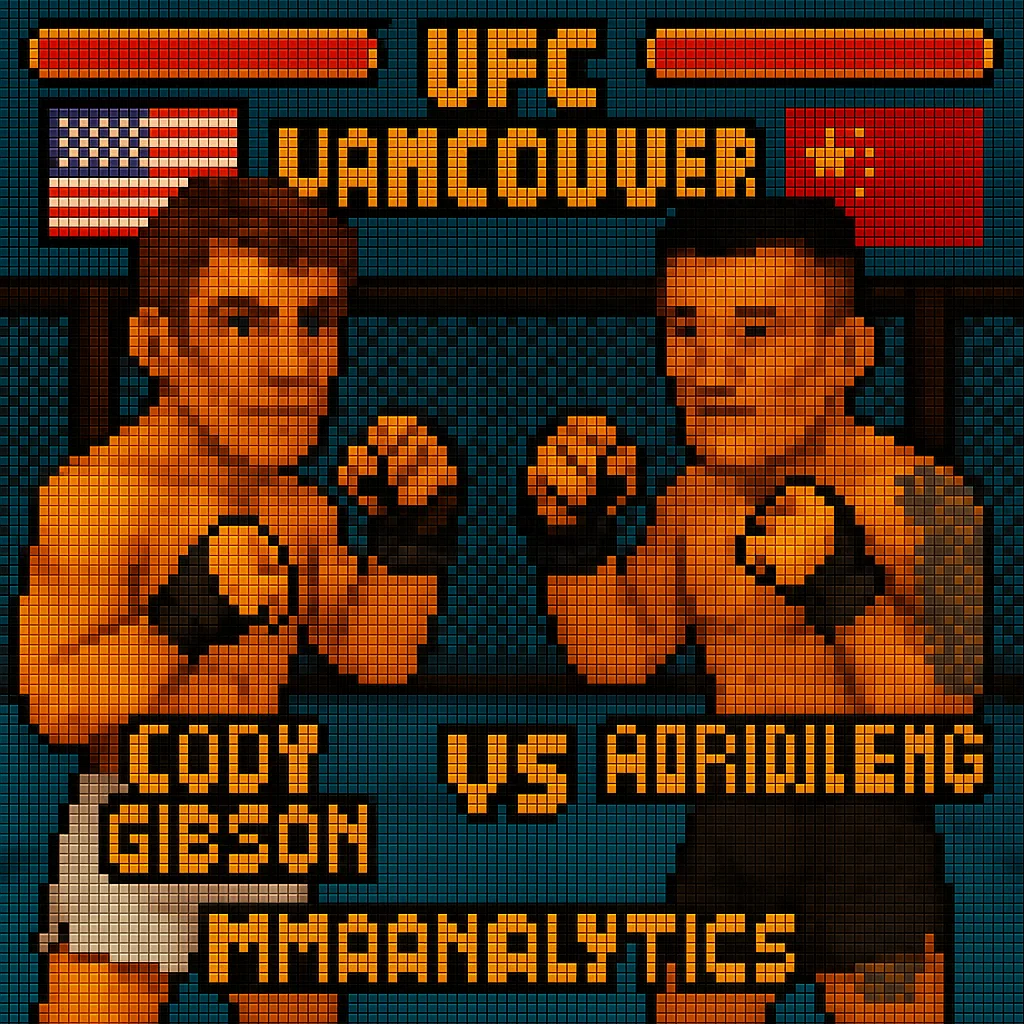
Cody Gibson vs Aoriqileng
UFC Vancouver
Saturday, October 18, 2025

Explore Detailed Fighter Profiles
Click on either the fighter's name or profile image for each fighter to access comprehensive UFC statistics including striking metrics, grappling data, clinch performance, complete fight history, offensive & defensive analytics, and round-by-round breakdowns.
Veteran Metrics
Victory Methods
Win Round Distribution
Striker Metrics
Victory Methods
Win Round Distribution
Last 5 Fights - Cody Gibson
| Date | Opponent | Result | Method |
|---|---|---|---|
| 2025-03-15 | Da'Mon Blackshear | L | Submission - Kimura From Side Control (R2, 4:09) |
| 2024-11-02 | Chad Anheliger | W | Decision - Unanimous (R3, 5:00) |
| 2024-07-20 | Brian Kelleher | W | Submission - Arm Triangle From Half Guard (R1, 3:58) |
| 2024-03-23 | Miles Johns | L | Decision - Unanimous (R3, 5:00) |
| 2023-08-19 | Brad Katona | L | Decision - Unanimous (R3, 5:00) |
Last 5 Fights - Aoriqileng
| Date | Opponent | Result | Method |
|---|---|---|---|
| 2024-09-14 | Raul Rosas Jr | L | Decision - Unanimous (R3, 5:00) |
| 2024-02-10 | Daniel Marcos | NC | No Contest - Low Blows (R2, 3:28) |
| 2023-10-07 | Johnny Munoz | W | Decision - Unanimous (R3, 5:00) |
| 2023-06-10 | Aiemann Zahabi | L | KO/TKO - Punch to Head At Distance (R1, 1:04) |
| 2022-08-20 | Jay Perrin | W | Decision - Unanimous (R3, 5:00) |
Technical Analysis
Technical Score
Cardio Score
Overall Rating
📊 Technical Score
Calculated as the average of Striking Composite and Grappling Composite. Combines overall striking effectiveness with grappling ability to measure complete technical skills.
💪 Cardio Score
Based on average fight duration, striking rate per minute, takedown rate, and finish rate. Measures cardiovascular endurance and ability to maintain pace throughout fights.
🎯 Overall Rating
Simple average of Technical Score and Cardio Score. Provides a holistic view of fighter capabilities combining skill level with physical conditioning and fight performance.
Striking Composite
Grappling Composite
🥊 Striking Composite
Weighted combination of Significant Strikes per Minute (SLpM), Striking Accuracy (StrAcc), Striking Defense (StrDef), and Strikes Absorbed per Minute. Measures overall striking effectiveness including offensive output, precision, and defensive ability.
🤼 Grappling Composite
Calculated from Takedowns per 15min (TD15), Takedown Accuracy (TDAcc), Takedown Defense (TDDef), and Submission Attempts per 15min (SubPer15). Evaluates complete grappling game including takedown ability, defensive wrestling, and submission threat.
Technical Radar Comparison
Metrics Legend
Detailed Statistical Comparison
🥊 Fight Analysis Breakdown
🏆 Cody Gibson Key Advantages
2.13 TD/15 vs 1.2 with 70% TDD; submission attempts (0.61/15) versus 0.0 — dictates the location of the fight.
58% StrDef vs 49% and far lower SApM (3.18 vs 5.46). Efficient striking and fewer absorbed shots in open space.
5'10" with a 71" reach in the 30-foot cage — feints into level changes, clinch pins, and top control.
⚠️ Unfavorable Scenarios
If takedowns fail early, Aori's 4.65 SLpM can snowball late.
Aori builds R3 volume; overcommitting shots risks counters.
📋 Likely Gameplan
Jab/feint entries to singles; fence clinch to mat returns; conserve gas for R2/R3 control.
Keep head off-center on entries; punish overhands with reactive doubles.
🚀 Aoriqileng Key Advantages
If he keeps it standing, accumulates damage into R3 surges.
Can sting over-extended shots; chaos benefits his offense.
⚠️ Unfavorable Scenarios
0.0 subs/15 and 58% TDD — top control saps volume and scoring chances.
49% StrDef and 5.46 SApM — gets hit clean when forced to reset.
📋 Likely Gameplan
Circle, jab, and low kick to blunt entries; flurry off sprawls.
Explode in pockets; avoid extended clinches where control time builds.
🎯 Fight Prediction Analysis
Data-driven prediction model based on statistical analysis
📊Detailed Analysis Summary
🏆Veteran vs Volume Dynamics
Classic grappler vs high-volume striker. Gibson's defensive metrics (58% StrDef, 3.18 SApM) and takedown game (2.13 TD/15) counter Aori's pressure (4.65 SLpM, 50% StrAcc) especially in a big cage. Age factor exists, but experience and control time are decisive in a three-rounder.
🎯Technical Breakdown
Gibson holds a clearer technical edge via grappling composite (+67% differential) and defensive profiles. Aori's volume is real, but 49% StrDef and 5.46 SApM reveal counter windows and durability questions against level changes and clinch control.
⚡Key Battle Areas
Entries and resets. If Gibson times shots off Aori's forward steps, fence control snowballs. If Aori keeps long exchanges and punishes failed shots, late-round surges keep cards close. R3 output tilt favors Aori; early control favors Gibson.
🔮Victory Scenarios
Gibson: control-heavy decision or opportunistic submission when scrambles expose the back/neck. Aori: accumulate damage at range and in pockets, potential late decision or opportunistic KO if Gibson overextends on entries.
🏁Final Prediction
Slightly wider than coin-flip. Defensive metrics and wrestling advantage point to Gibson. Expect control time to define rounds with Aori needing damage moments to steal frames. Prediction: Gibson by Decision (most likely), with live-sub equity if scrambles open up (Round 2/3).
💰 Betting Analysis: Model vs Market
Comprehensive market analysis for this bout
📊Market Odds
Market Props
🤖Analytical Model
Model Props
💎Value Opportunities
✅Highest Probability Bets
⚠️Market Overvaluation
🎯 Comprehensive Probabilistic Analysis
Detailed outcome modeling based on fighter analytics
🏆Outcome Distribution - Gibson
Control time and top pressure
Choke series off takedown chains
Less likely path via attritional damage
💥Outcome Distribution - Aoriqileng
Needs clean, extended striking rounds
Burst moments in pockets
Minimal submission threat profile
⏰Fight Timeline Analysis
📈Timeline Projections
- • 0-5 minutes: Gibson timing level changes; early control potential
- • 5-10 minutes: Aori adjusts entries; scramble frequency rises
- • 10-15 minutes: If standing, Aori volume surges; if grounded, Gibson seals rounds
🎯 Final Confidence Assessment
Model confidence and key risk factors
Confidence Level
Grappling/defensive edges align strongly with profiles
✅Supporting Factors
- • Superior StrDef (58%) and lower SApM (3.18)
- • TD offense/defense matrix (+2.13 TD/15, 70% TDD)
- • Submission attempts vs 0.0 for opponent
- • Large cage favors shot selection and resets
⚠️Risk Factors
- • Age differential (37 vs 31)
- • Aori volume surges in R3
- • Potential counter windows on failed entries
- • Variance in three-round decisions
🏁Executive Summary
The stylistic clash is favorable for Gibson. His takedown game and defensive metrics directly answer Aori's pressure striking. Unless Aori keeps long, clean exchanges, Gibson's control time should define rounds and the scorecards.
Final Verdict: Gibson by Decision (most likely), with live-sub equity if scrambles open up (Round 2/3).
