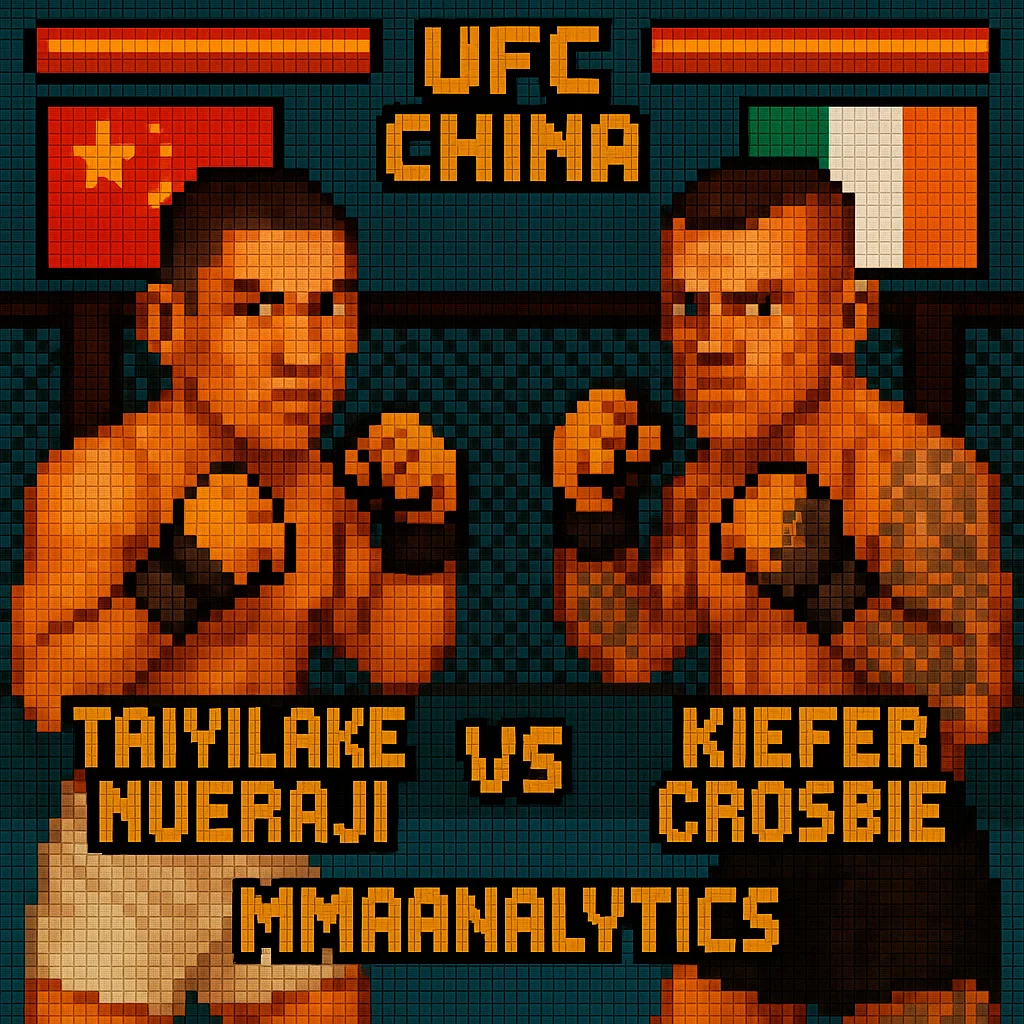
Taiyilake Nueraji vs Kiefer Crosbie
Men's Welterweight Bout • UFC Fight Night: Walker vs Zhang
Saturday, August 23, 2025

Fighter A Metrics
Victory Methods
Win Round Distribution
Fighter B Metrics
Victory Methods
Win Round Distribution
Last 5 Fights - Taiyilake Nueraji
| Date | Opponent | Result | Method |
|---|---|---|---|
| 2024-08-10 | Kirill Karpekin | W | KO/TKO - Punches (R1, —) |
| 2024-06-08 | Maxim Shimchenko | W | Submission - Armbar (R1, 2:45) |
| 2024-02-24 | Dhouglas Ribeiro | W | TKO - Punches (R1, 1:25) |
| 2023-05-27 | Han Seul Kim | W | KO - Elbow (R2, 3:22) |
| 2022-07-09 | Qi Wang | W | TKO - Knees & Punches (R3, 2:01) |
Last 5 Fights - Kiefer Crosbie
| Date | Opponent | Result | Method |
|---|---|---|---|
| 2024-07-27 | Sam Patterson | L | Submission - Arm Triangle (R1, 2:50) |
| 2023-09-09 | Kevin Jousset | L | Submission - Rear-Naked Choke (R1, 4:49) |
| 2023-04-01 | Alex Oliveira | W | KO/TKO (R1, 4:14) |
| 2022-07-02 | Brian Lo-A-Njoe | W | TKO - Ground & Pound (R1, 1:28) |
| 2021-07-31 | Georgi Karakhanyan | L | Submission - Arm Triangle (R1, 4:25) |
Technical Analysis
Technical Score
Cardio Score
Overall Rating
📊 Technical Score
Calculated as the average of Striking Composite and Grappling Composite. For this matchup, striking carries most of the signal given limited grappling data across both fighters.
💪 Cardio Score
Based on output rates, finishing trends, and historical pacing. Nueraji's higher volume and finishing pace slightly edge Crosbie here.
🎯 Overall Rating
Simple average of Technical Score and Cardio Score to provide a holistic snapshot of current form and capability.
Striking Composite
Grappling Composite
🥊 Striking Composite
Weighted combination of SLpM, Striking Accuracy, Striking Defense, and Strikes Absorbed per Minute to quantify overall standing effectiveness.
🤼 Grappling Composite
Based on takedown attempts/accuracy, takedown defense, and submission attempts. Limited available data keeps this component conservative for both athletes.
Technical Radar Comparison
Metrics Legend
Detailed Statistical Comparison
🥊 Fight Analysis Breakdown
🏆 Taiyilake Nueraji Key Advantages
Massive volume edge with significant reach advantage enables constant pressure at range.
Consistent early finishes across career with power and aggression.
⚠️ Unfavorable Scenarios
High pace can open counters if accuracy dips.
📋 Likely Gameplan
Use reach and volume to force defensive reactions; hunt early finish.
🚀 Kiefer Crosbie Key Advantages
Clean shot selection can punish defensive lapses.
⚠️ Unfavorable Scenarios
Recent UFC losses by R1 submission expose defensive vulnerabilities.
📋 Likely Gameplan
Keep defenses tight early, look for accurate counters and clinch breaks.
🎯 Fight Prediction Analysis
Data-driven prediction model based on statistical analysis
📊Detailed Analysis Summary
🏆Match Dynamics
Nueraji dictates range with length and pace, leveraging a steady jab, feints, and long rear hand to establish early initiative. Crosbie's win conditions depend on slowing the tempo, compressing the cage, and turning exchanges into short sequences where his accuracy shines. If Nueraji maintains the first layer of initiative, damage and volume accumulation trend toward a decisive outcome.
🎯Technical Breakdown
Output gap (11.01 vs 6.27 SLpM) is the key lever. Crosbie's 64% accuracy underscores clean shot selection, but sustained defense versus volume requires consistent footwork and early reads. Grappling metrics are largely unavailable; anticipate a striking-led bout with clinch breaks rather than extended wrestling. Defensive metrics are comparable, with a slight advantage to the fighter maintaining initiative.
⚡Key Battle Areas
R1: Establishment of jab/tempo—if Nueraji wins this layer, counters become harder to find. R2: attrition and damage begin to separate; cage control matters. R3: if live, accuracy vs volume—Crosbie needs clean, low-exchange minutes to win the margins. Any extended clinch/grappling sequences are risky given recent submission results.
🏁Final Prediction
Lean: Taiyilake Nueraji. Distance control and volume create multiple paths—early to mid-round stoppage most likely; a wide decision is the fallback if durability holds. Kiefer Crosbie must disrupt tempo quickly with clean counters to alter the trajectory.
💰 Betting Analysis: Model vs Market
Comprehensive value assessment and betting opportunities
📊Market Odds
🤖Analytical Model
Model Props
💎Value Opportunities
MAXIMUM VALUE
Model: 60%
GOOD VALUE
Model: ~60%
SLIGHT VALUE
Model: 15%
🎯 Comprehensive Probabilistic Analysis
100 hypothetical fight simulation based on statistical data
🏆Outcome Distribution - Taiyilake Nueraji
Primary finishing method
Occasional finishing path
If fight extends past early storm
💥Outcome Distribution - Kiefer Crosbie
Low-probability scenario
Primary upset path based on history
Requires neutralizing volume for 3 rounds
⏰Fight Timeline Analysis
🎯 Final Confidence Assessment
Confidence level and uncertainty factors
Confidence Level
Strong edge with stylistic advantages
✅Supporting Factors
- • Significant volume and reach advantage
- • 100% finish rate historically
- • Youth and momentum (5-fight win streak)
- • Crosbie's recent R1 submission losses
⚠️Risk Factors
- • UFC debut variables for Nueraji
- • Crosbie's accuracy creating counter windows
- • Limited grappling data for both fighters
🏁Executive Summary
The matchup features a high-output, long fighter in Nueraji against a precise but vulnerable veteran in Crosbie. The pace, reach, and finishing profile of Nueraji create multiple early paths to victory. Crosbie's best chance involves weathering the initial surge and capitalizing on counter opportunities or opportunistic grappling.
